
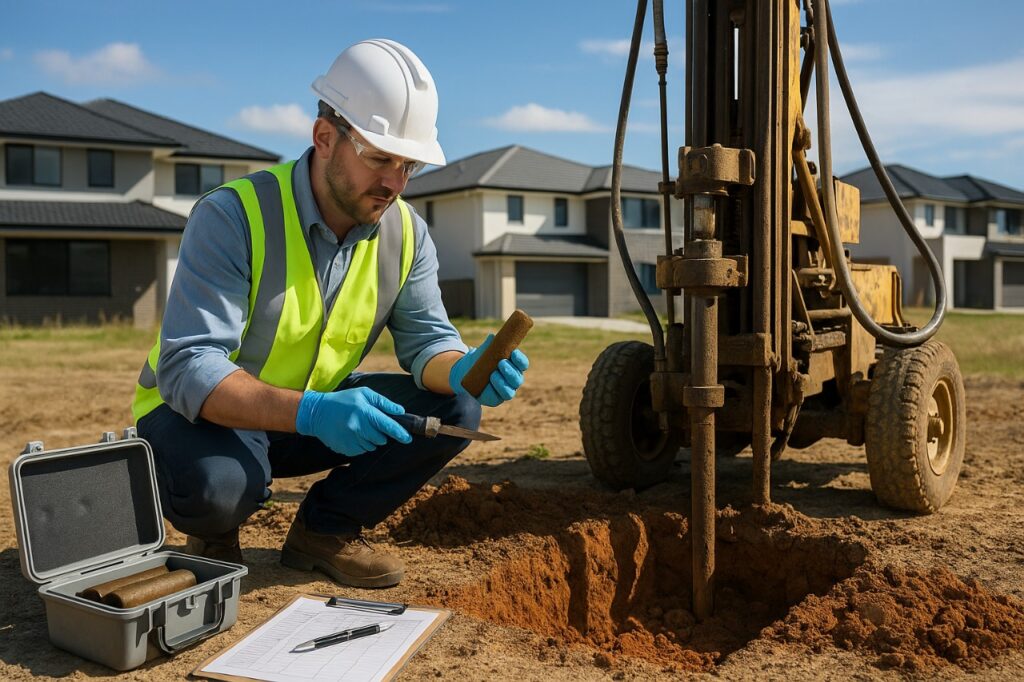
You did the responsible thing. You called in a geotechnical team, watched the drill rig chew through several feet of earth, and now you have a stack of soil samples sitting in a lab somewhere. But what actually happens next? For many property owners, developers, and contractors, soil testing feels like the finish line—when in reality, it’s just the starting gun for the next phase of your project.
At Gemcon Engineering, we know that the period right after a soil investigation can feel like a black box. You’ve paid for the test, you’re eager to break ground, and suddenly you’re waiting on a report full of numbers you didn’t expect to need a degree to interpret. This blog walks you through exactly what happens after soil testing, so you know what to expect and how to keep your project moving forward with confidence.
Step 1: Laboratory Analysis of Your Samples
Once soil samples are collected from the field—whether through borings, test pits, or hand augers—they’re transported to a geotechnical laboratory for detailed analysis. This is where the real science begins. Technicians examine the soil for a range of properties, including:
- Grain size distribution – Determines whether the soil is sandy, silty, clayey, or a mix, which affects drainage and load-bearing capacity.
- Moisture content – Reveals how much water is naturally present, which influences soil stability.
- Atterberg limits – Measure the plasticity of fine-grained soils to predict how they’ll behave under stress or moisture changes.
- Compaction characteristics – Show how the soil will respond to being compressed, critical for foundations and pavements.
- Shear strength – Indicates how much load the soil can bear before it fails or shifts.
This lab work typically takes anywhere from a few days to a couple of weeks, depending on the complexity of the tests requested and the lab’s workload.
Step 2: Engineering Interpretation and Report Preparation
Raw lab data alone doesn’t tell you whether your site is safe to build on—it needs to be interpreted by a licensed geotechnical engineer. This is where firms like Gemcon Engineering step in to translate numbers into actionable recommendations.
During this phase, engineers will:
- Cross-reference lab results with field observations and boring logs
- Identify soil layers and their engineering properties across the site
- Assess groundwater conditions and their potential impact on construction
- Evaluate risks such as expansive soils, liquefaction potential, or soft/compressible layers
- Determine allowable bearing capacity for foundations
The result is a geotechnical engineering report—a comprehensive document that becomes the technical backbone of your project’s design phase.
Step 3: Understanding Your Geotechnical Report
Your report will typically include several key sections, and knowing what to look for makes the next conversation with your engineer far more productive:
- Site and Subsurface Conditions – A summary of what was found at each boring or test location, including soil types and groundwater depth.
- Foundation Recommendations – Guidance on whether shallow foundations (like spread footings) or deep foundations (like piles or piers) are appropriate, along with recommended bearing capacities.
- Earthwork Recommendations – Instructions on cut and fill procedures, compaction requirements, and suitable fill materials if the existing soil needs to be improved or replaced.
- Drainage and Groundwater Considerations – Recommendations for managing water around the foundation to prevent long-term issues like settlement or hydrostatic pressure.
- Special Considerations – Site-specific risks such as expansive clays, seismic concerns, or slope stability issues, along with mitigation strategies.
If any of this feels overwhelming, that’s normal—and it’s exactly why a good engineering partner walks clients through the findings rather than just emailing a PDF and moving on.
Step 4: Applying Findings to Your Design
Once you have your report in hand, the information doesn’t just sit on a shelf—it actively shapes the next phases of your project:
- Structural engineers use the bearing capacity and settlement data to design appropriately sized foundations.
- Civil engineers incorporate drainage recommendations into site grading and stormwater plans.
- Architects may need to adjust building layouts if certain areas of the site have poor soil conditions.
- Contractors rely on earthwork specifications to plan excavation, compaction, and material sourcing.
This is often where soil testing pays for itself many times over. Catching a soil issue on paper is dramatically cheaper than discovering it mid-construction, when a foundation is already poured or a slab has started cracking.
Step 5: Addressing Soil Issues, If Any Are Found
Not every site comes back with a clean bill of health, and that’s not necessarily bad news—it’s useful information. If your report identifies challenges like weak soils, high water tables, or expansive clay, there are established engineering solutions, including:
- Soil stabilization through chemical treatment or mechanical compaction
- Over-excavation and replacement with engineered fill
- Deep foundation systems to bypass poor surface soils and bear on more stable strata
- Enhanced drainage systems to manage groundwater and reduce hydrostatic pressure
A qualified geotechnical partner will present these options clearly, along with the cost and schedule trade-offs of each, so you can make an informed decision rather than guessing.
Step 6: Permitting and Regulatory Review
In many jurisdictions, your geotechnical report will need to be submitted alongside your building permit application. Local building departments often require this documentation to confirm that foundation designs meet code requirements for the specific soil conditions on your site. Having a clear, well-organized report from a reputable firm can help streamline this review process rather than triggering back-and-forth requests for clarification.
Step 7: Ongoing Support Through Construction
Good geotechnical support doesn’t necessarily end once the report is delivered. Many projects benefit from construction-phase services, such as:
- Verifying that excavated soil conditions match what was predicted in the report
- Performing compaction testing on fill material as it’s placed
- Confirming foundation bearing conditions before concrete is poured
Having the same team that conducted your original investigation available during construction adds a layer of continuity and confidence—if conditions differ from what was expected, they’ll recognize it immediately and can recommend adjustments in real time.
Why the Post-Testing Phase Matters So Much
It’s tempting to think of soil testing as a box to check before construction begins, but the real value lives in everything that happens after the samples leave the ground. A thorough analysis, a clearly written report, and thoughtful engineering recommendations are what stand between a stable, long-lasting structure and costly surprises down the road—cracked foundations, uneven settling, drainage failures, or expensive change orders mid-build.
Partner With Gemcon Engineering for the Full Picture
Soil testing is only as valuable as the expertise behind it. At Gemcon Engineering, we don’t just hand over a report and wish you luck—we walk clients through every finding, explain what it means for their specific project, and help translate technical data into practical next steps. Whether you’re planning a residential build, a commercial development, or an infrastructure project, our team is here to guide you from the first boring log to the final foundation pour.
If you’re staring at a soil report and aren’t sure what to do next, or if you’re just getting started and want a team that will support you through the entire process, reach out to Gemcon Engineering today. We’ll help make sure what’s beneath your project is just as solid as what you’re planning to build on top of it.